

By Vince Petty
As I write this article I do not intend it to be an academic study of American hardbread during the Great War, but a guide for the living historian who desires to re-create in a more authentic manner, the hardbread eaten by the American soldier during the war.
In the case of the living historian trying to re-create hardbread, the experience has been to use saltine crackers and attempt to re-package them in a period manner, either in cardboard packaging or by using Paul Schipper’s reproduction hardbread tins. The end result though is that they are still modern crackers which hardly resemble period hardbread, no matter how well the packaging is re-created. Others have made the effort to make hardbread, but the result has too often been pieces that look homemade rather than having the consistency of factory-made hardbread.
My goal has been to develop a hardbread recipe that is indeed hardbread. It could not be too hard, or too crisp like a cracker. It had to be dense and heavy. The taste was also important – if anything maybe a little tasteless, but it should not be unpleasant to eat. My final goal was to develop a product that came as close as possible to the consistency of a factory made product.
The following is the result of my experimenting with recipes and techniques for a reproduction American Great War hardbread.
The Hardbread Cutter
The hardbread that is made with this guide is based on an original opened tin of hardbread and its intact contents in the collection of the Madison County (Iowa) Historical Society. Tom Clegg and Darrek Orwig of the Iowa WW1 Study Group, had the opportunity to study this tin of hardbread.
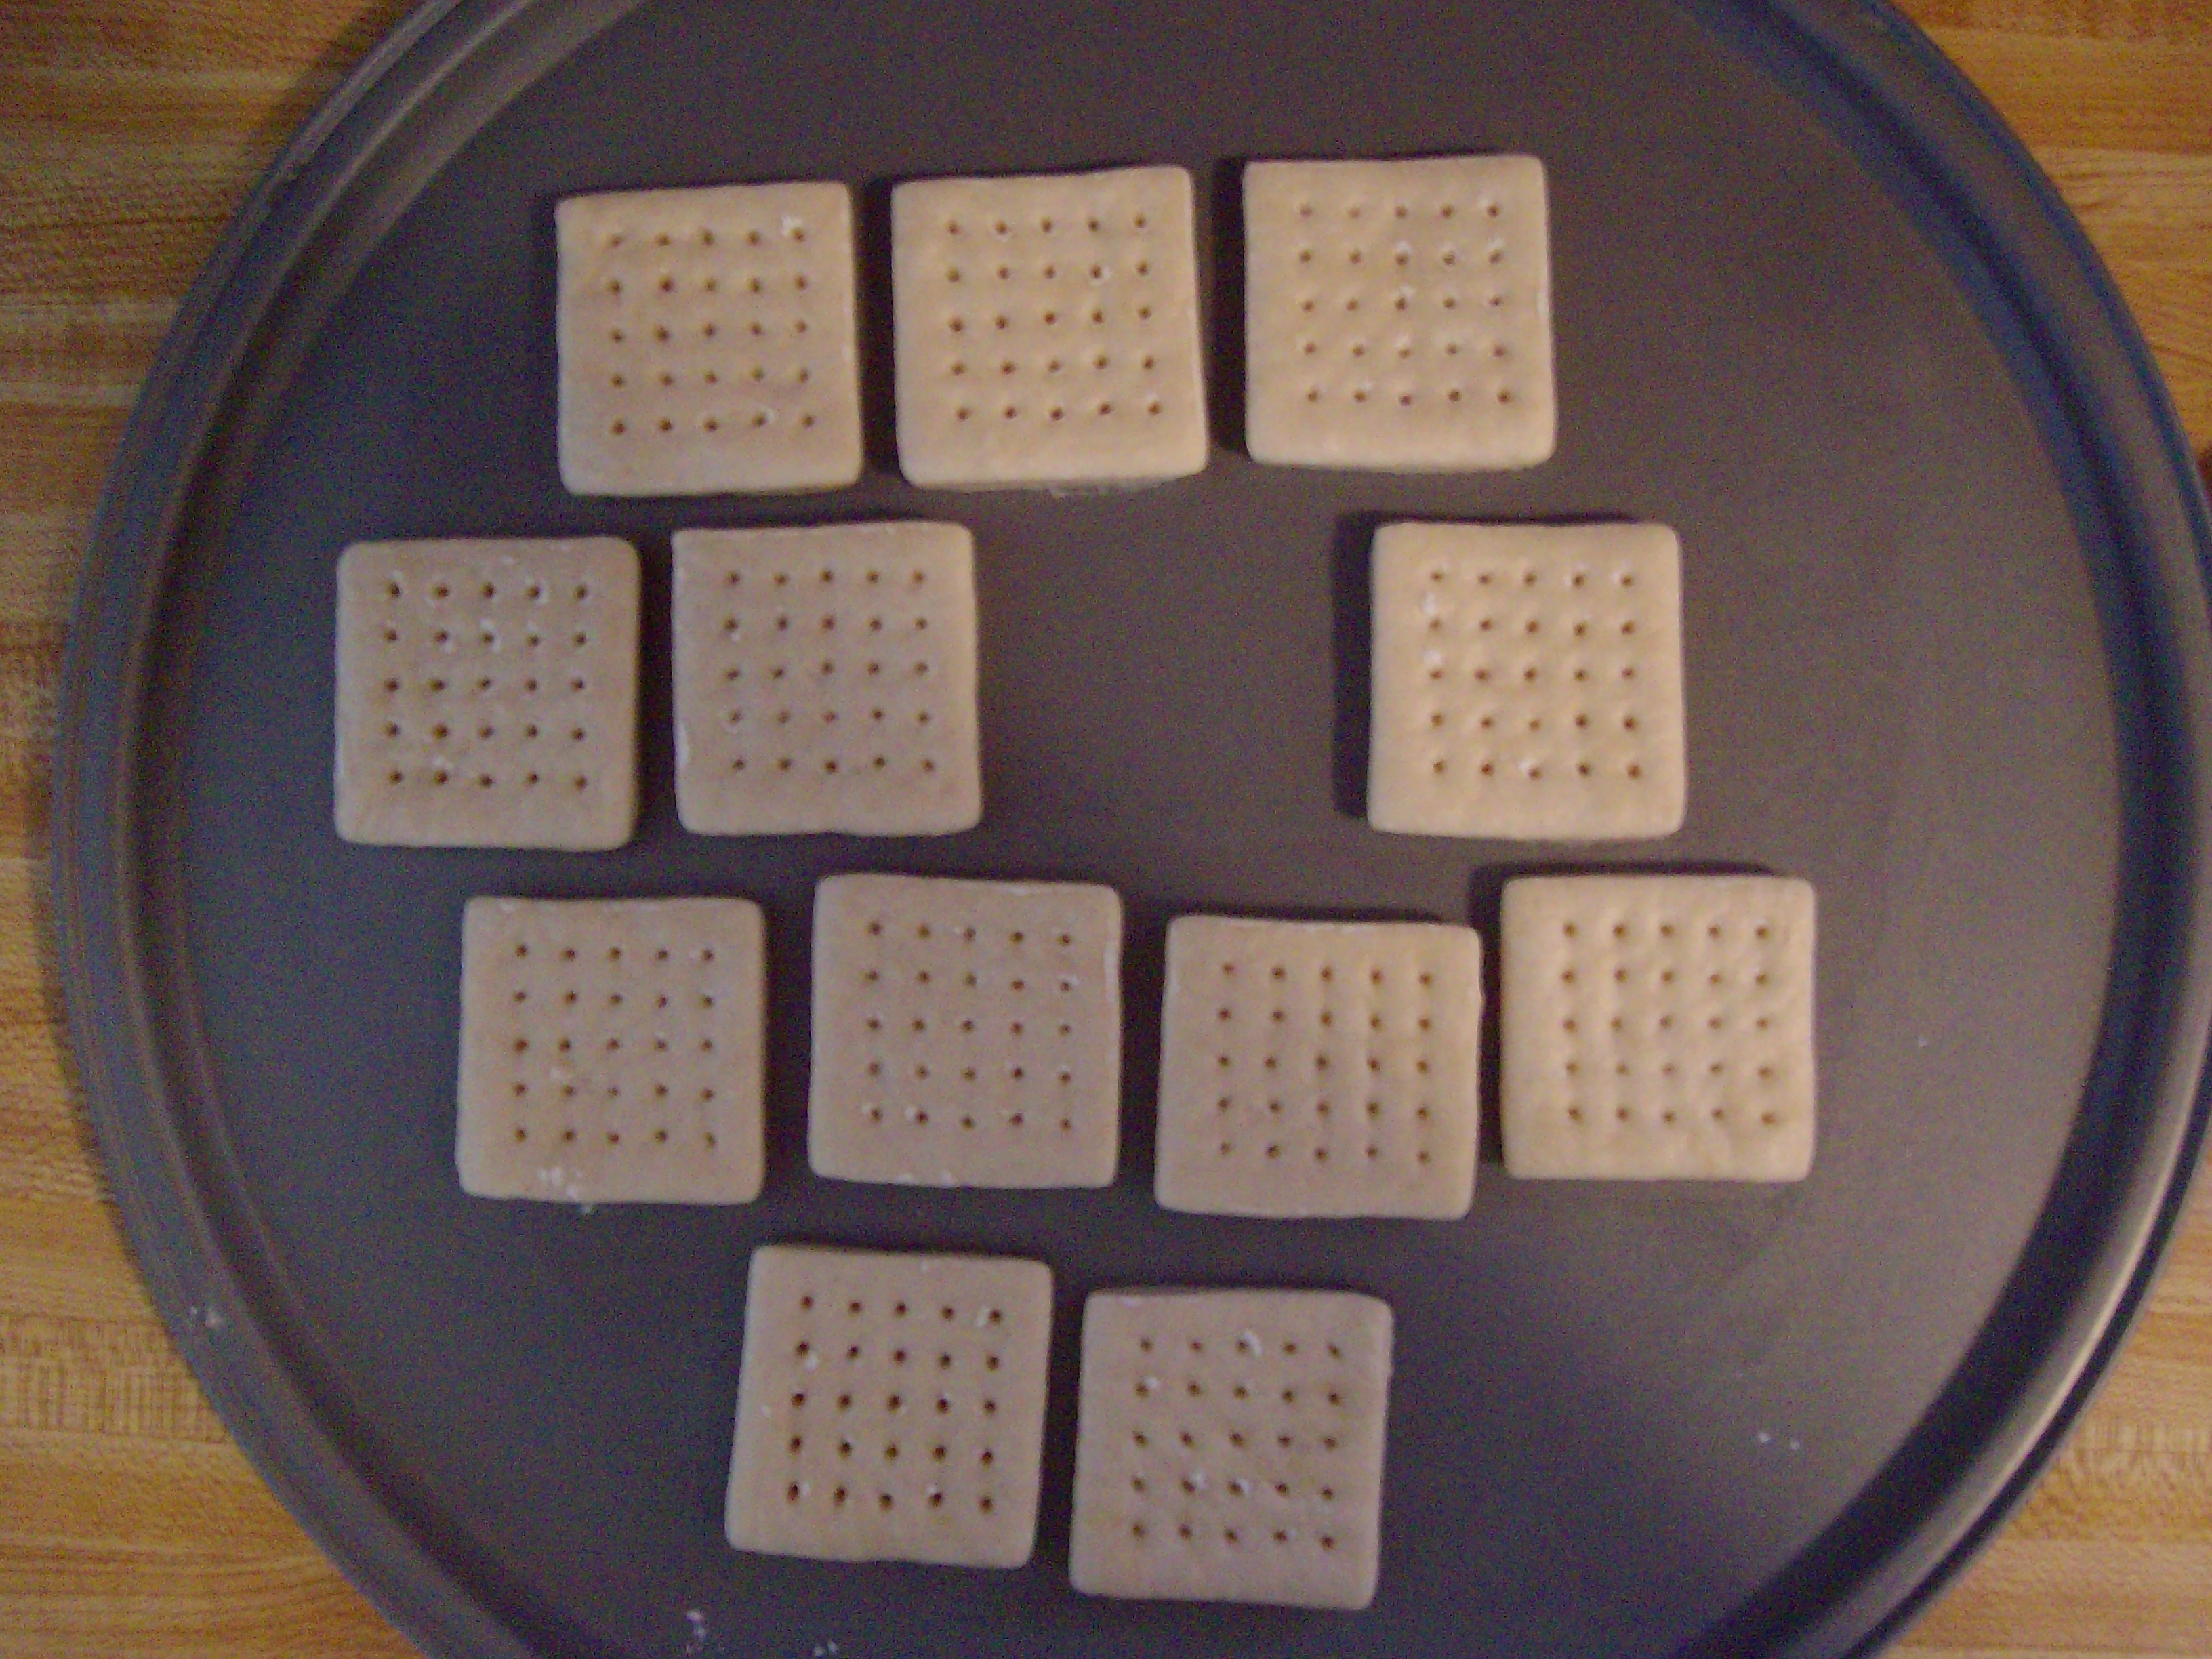
The hardbread measured 2 inches by 2 inches square and was 7/16th of an inch thick. Further, there were 25 air holes in the hardbread, about a quarter of an inch from each edge and arranged in a 5×5 pattern.
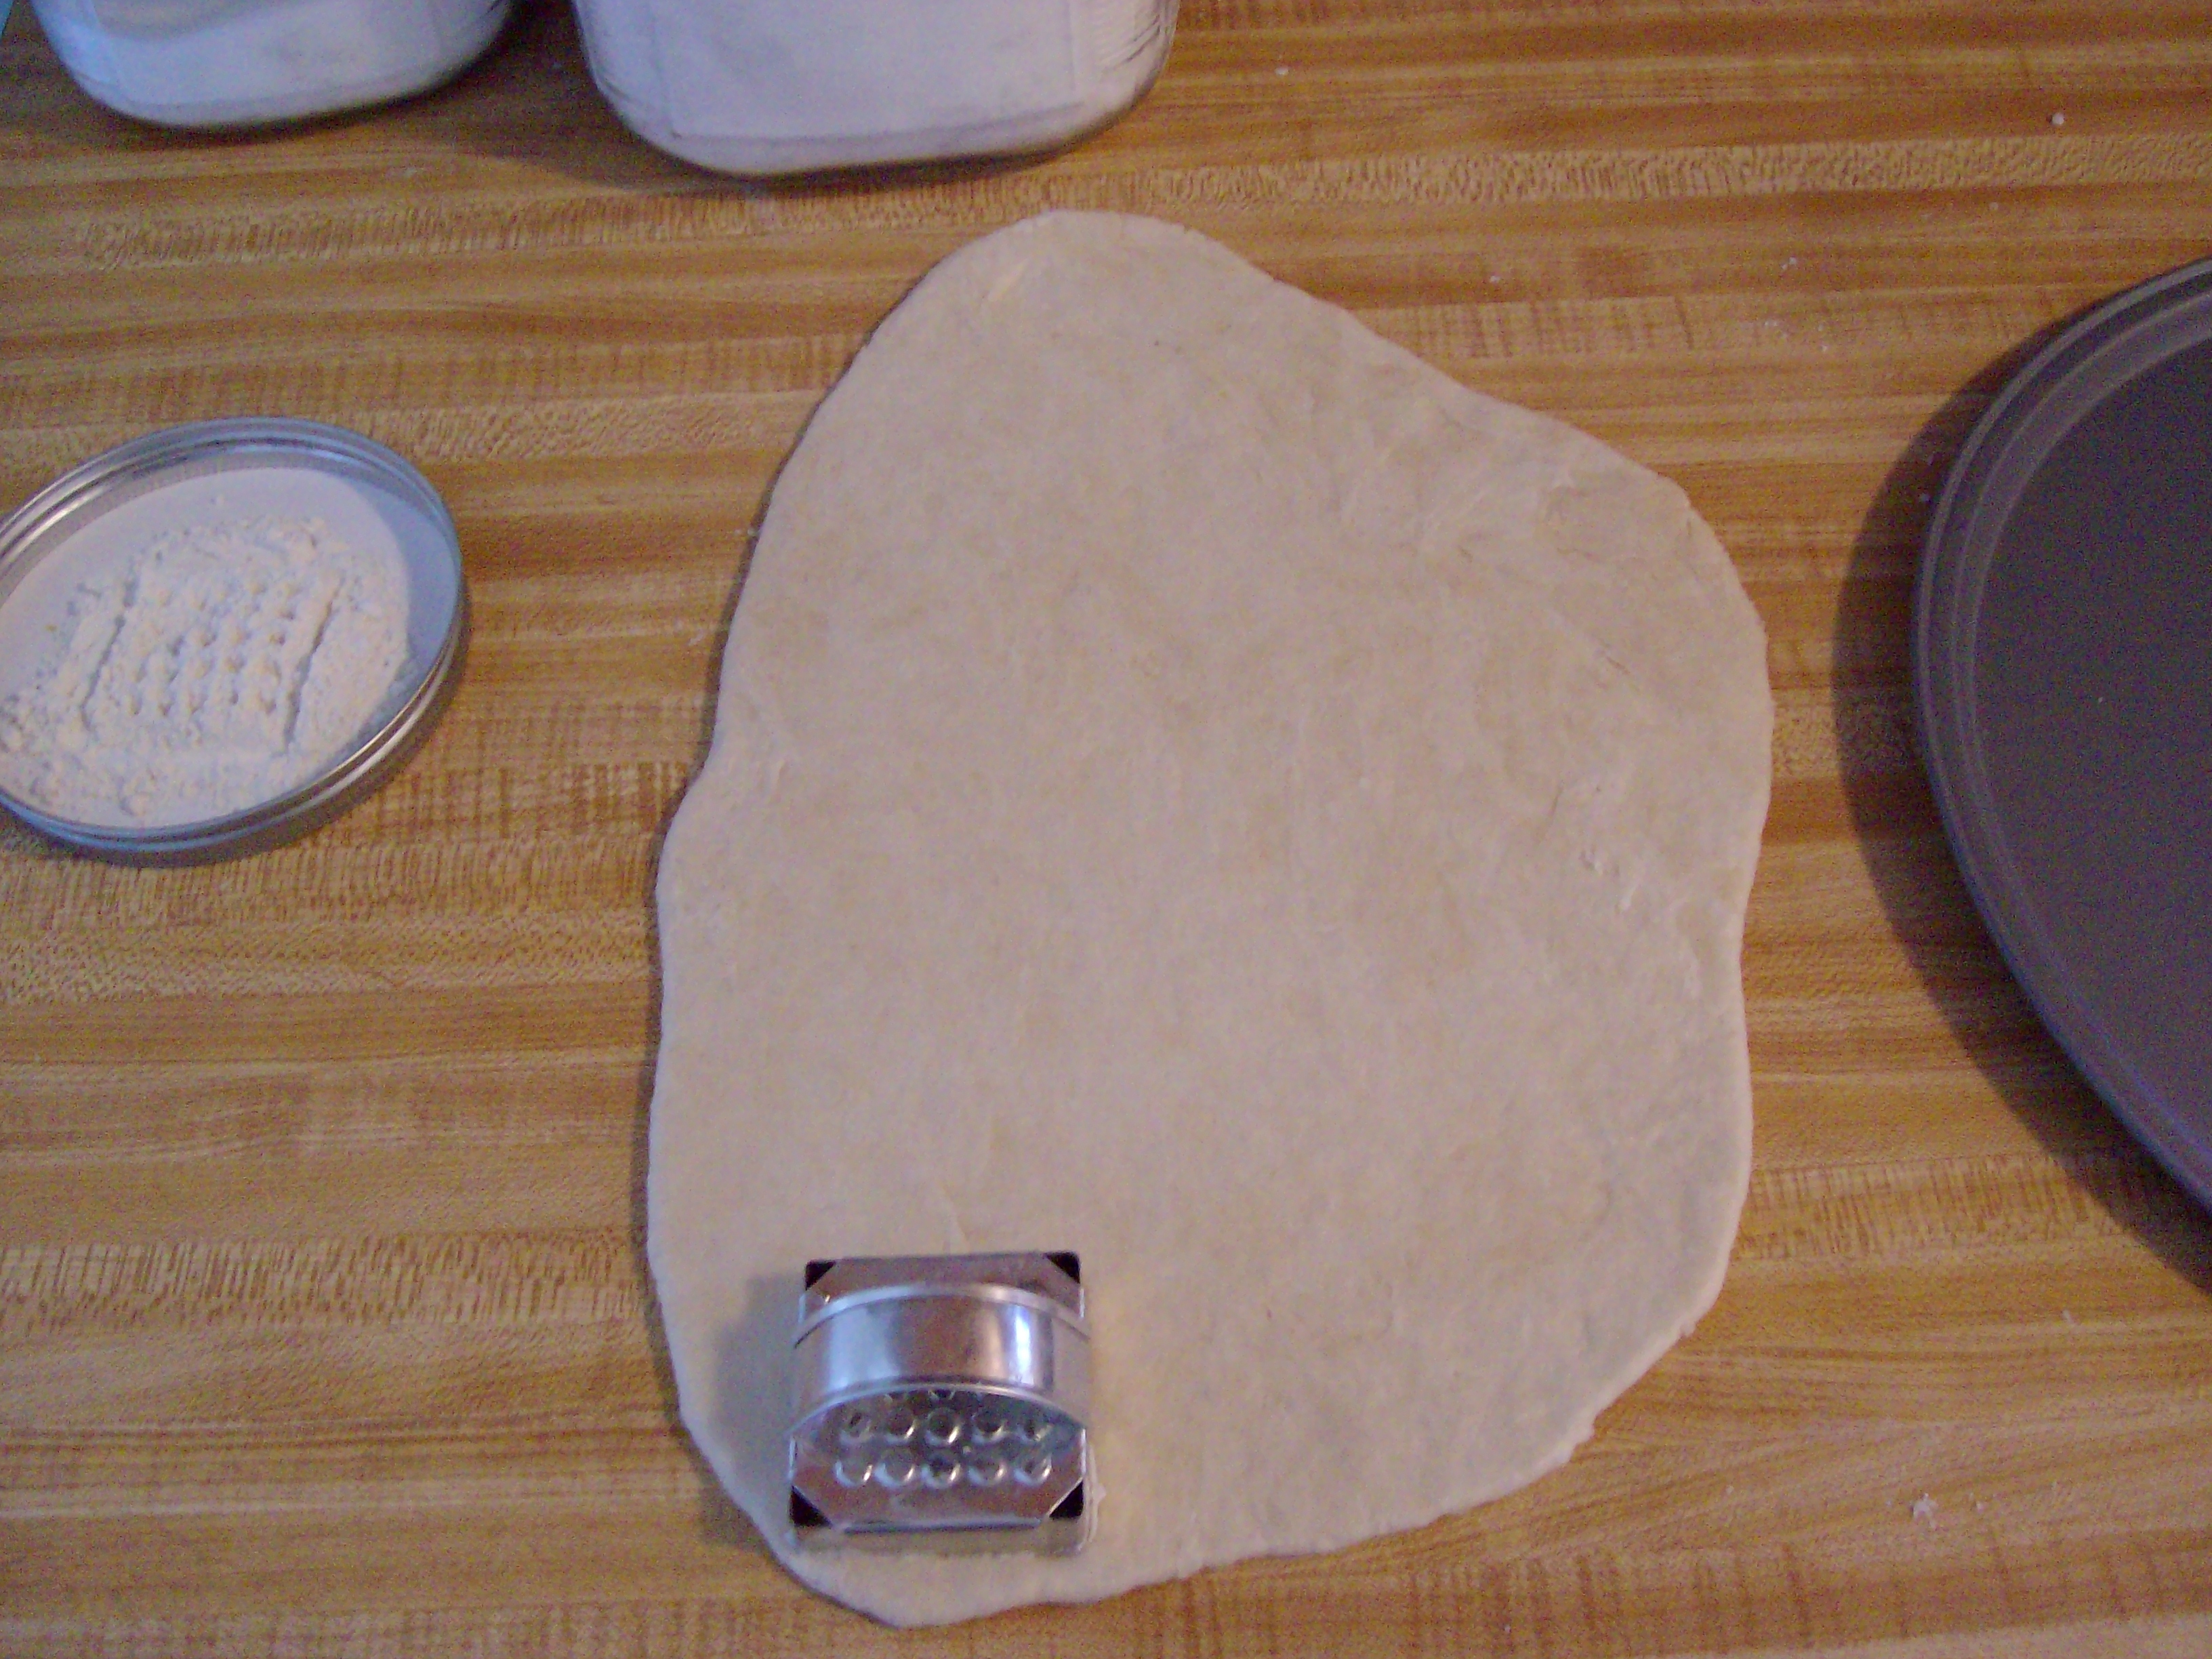
Figures 1 & 2, the custom hardbread cutter produced by Victor Trading Company.
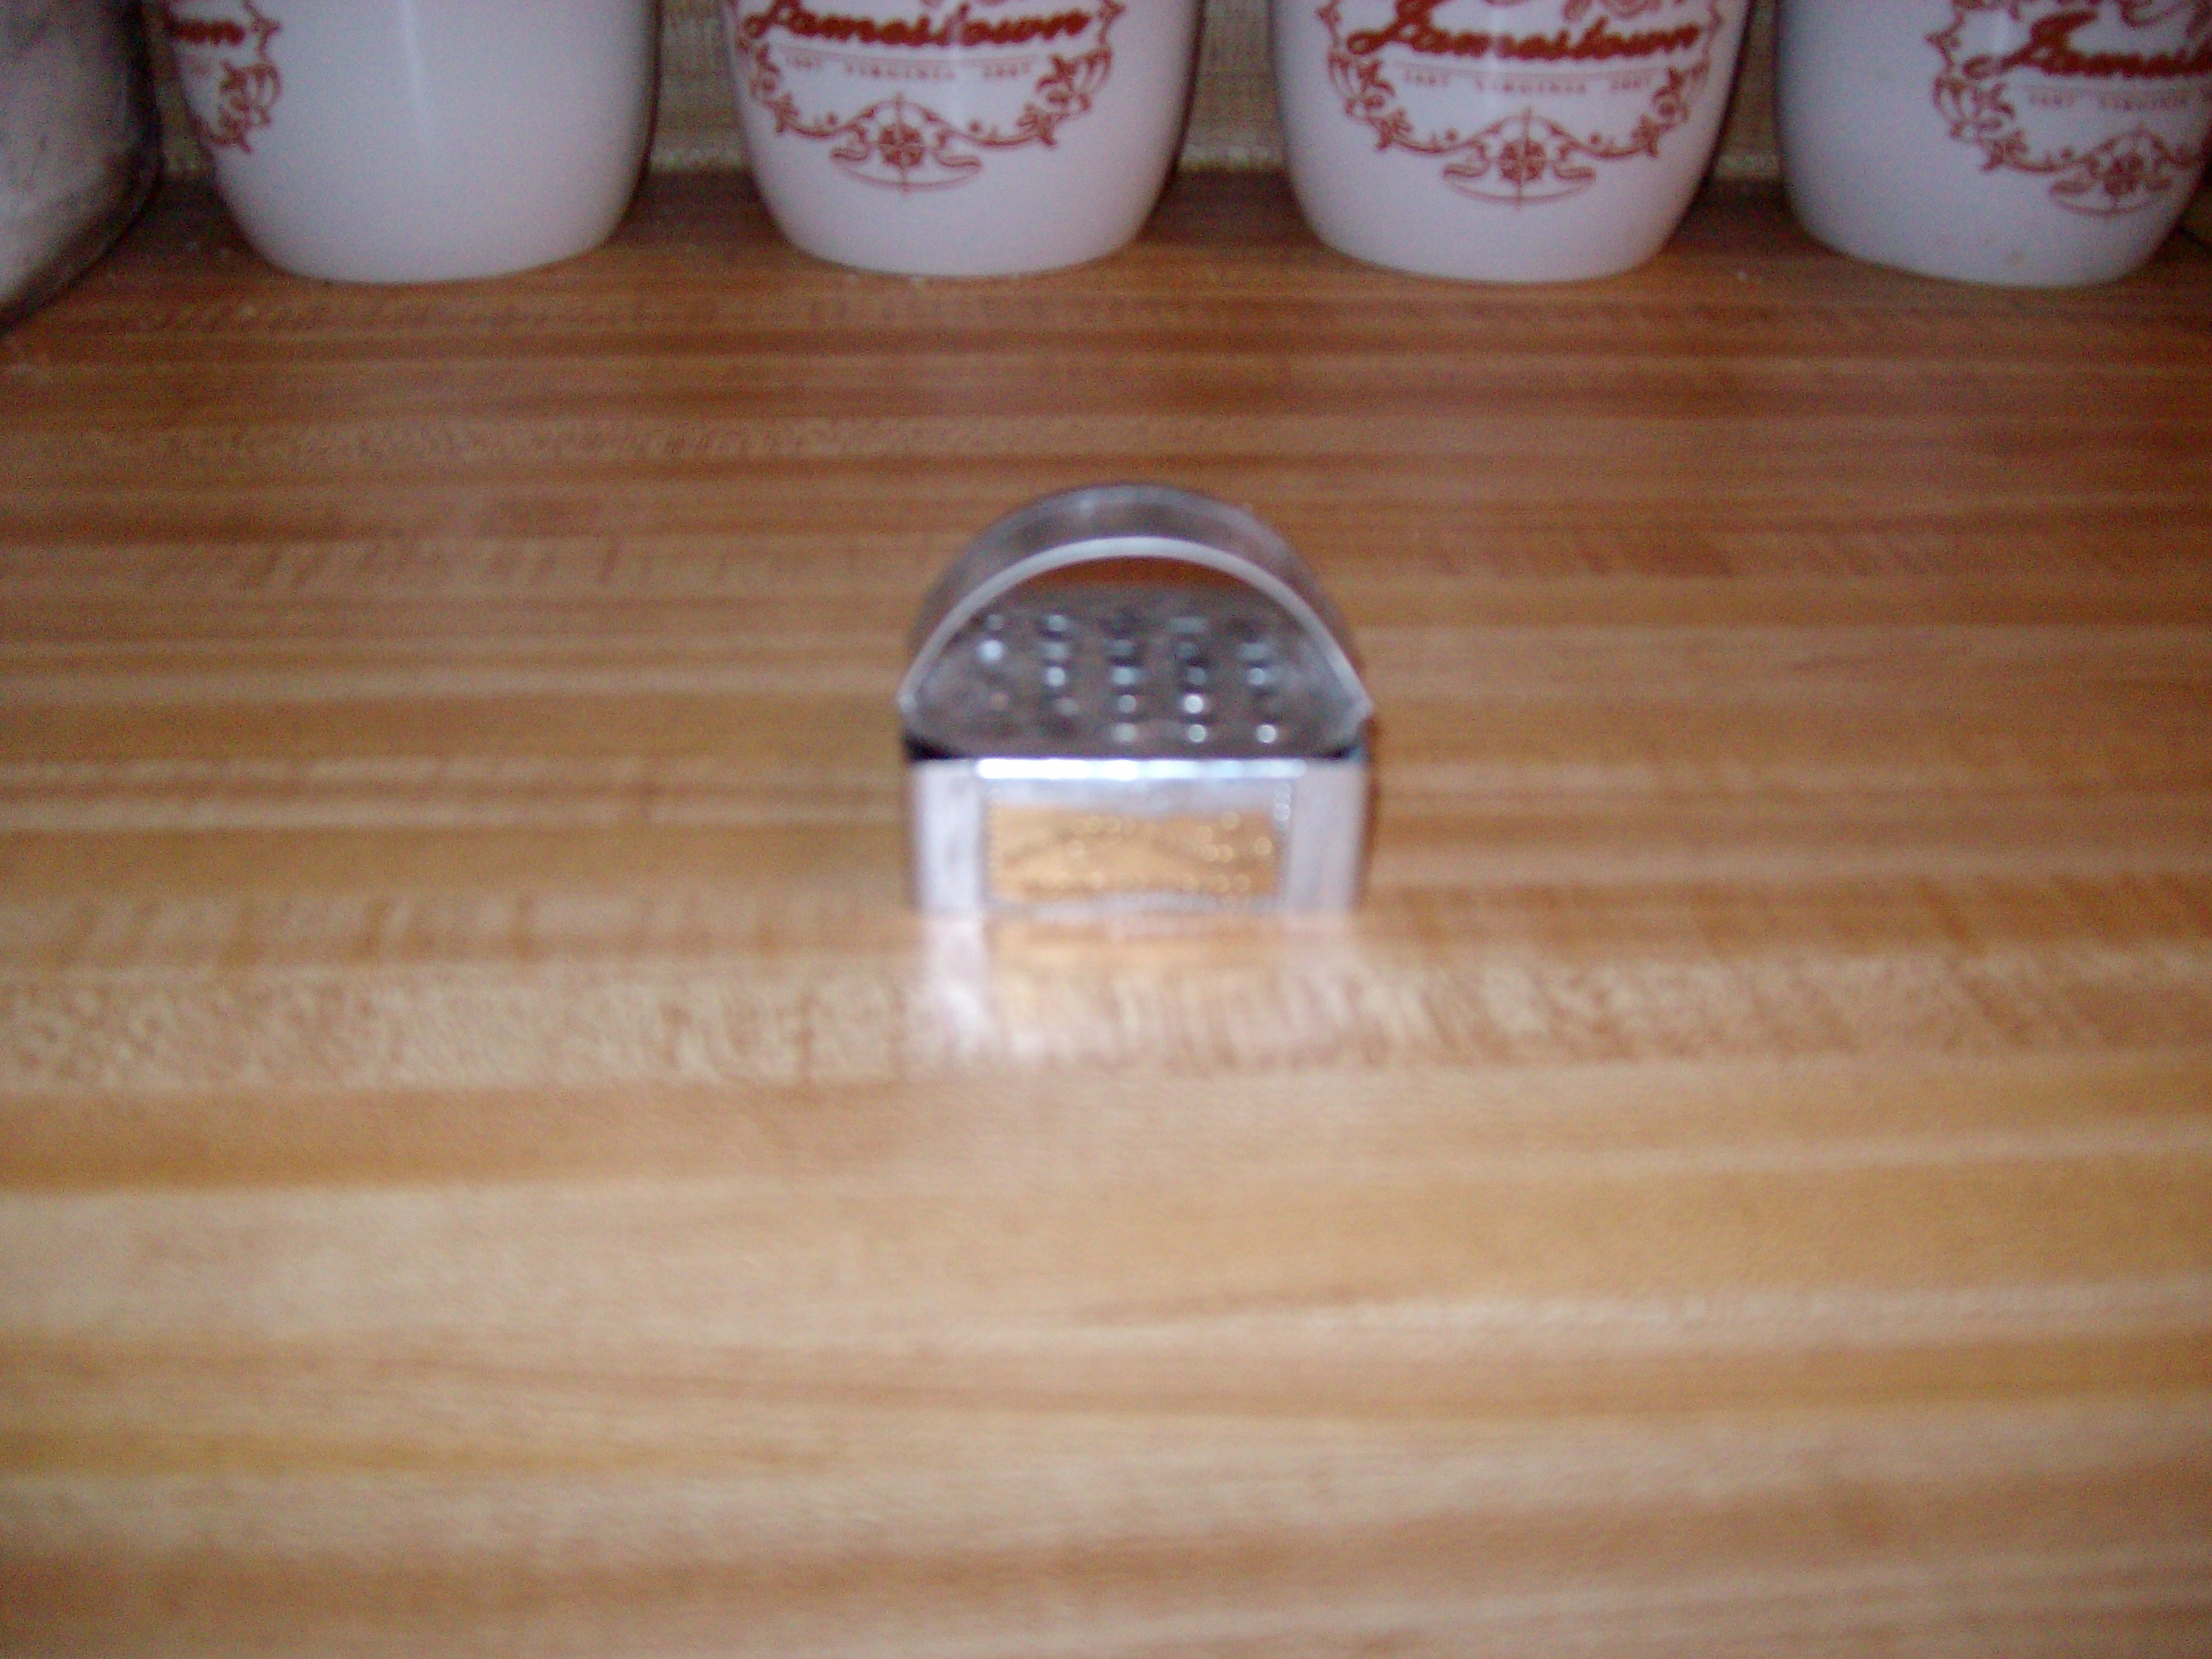
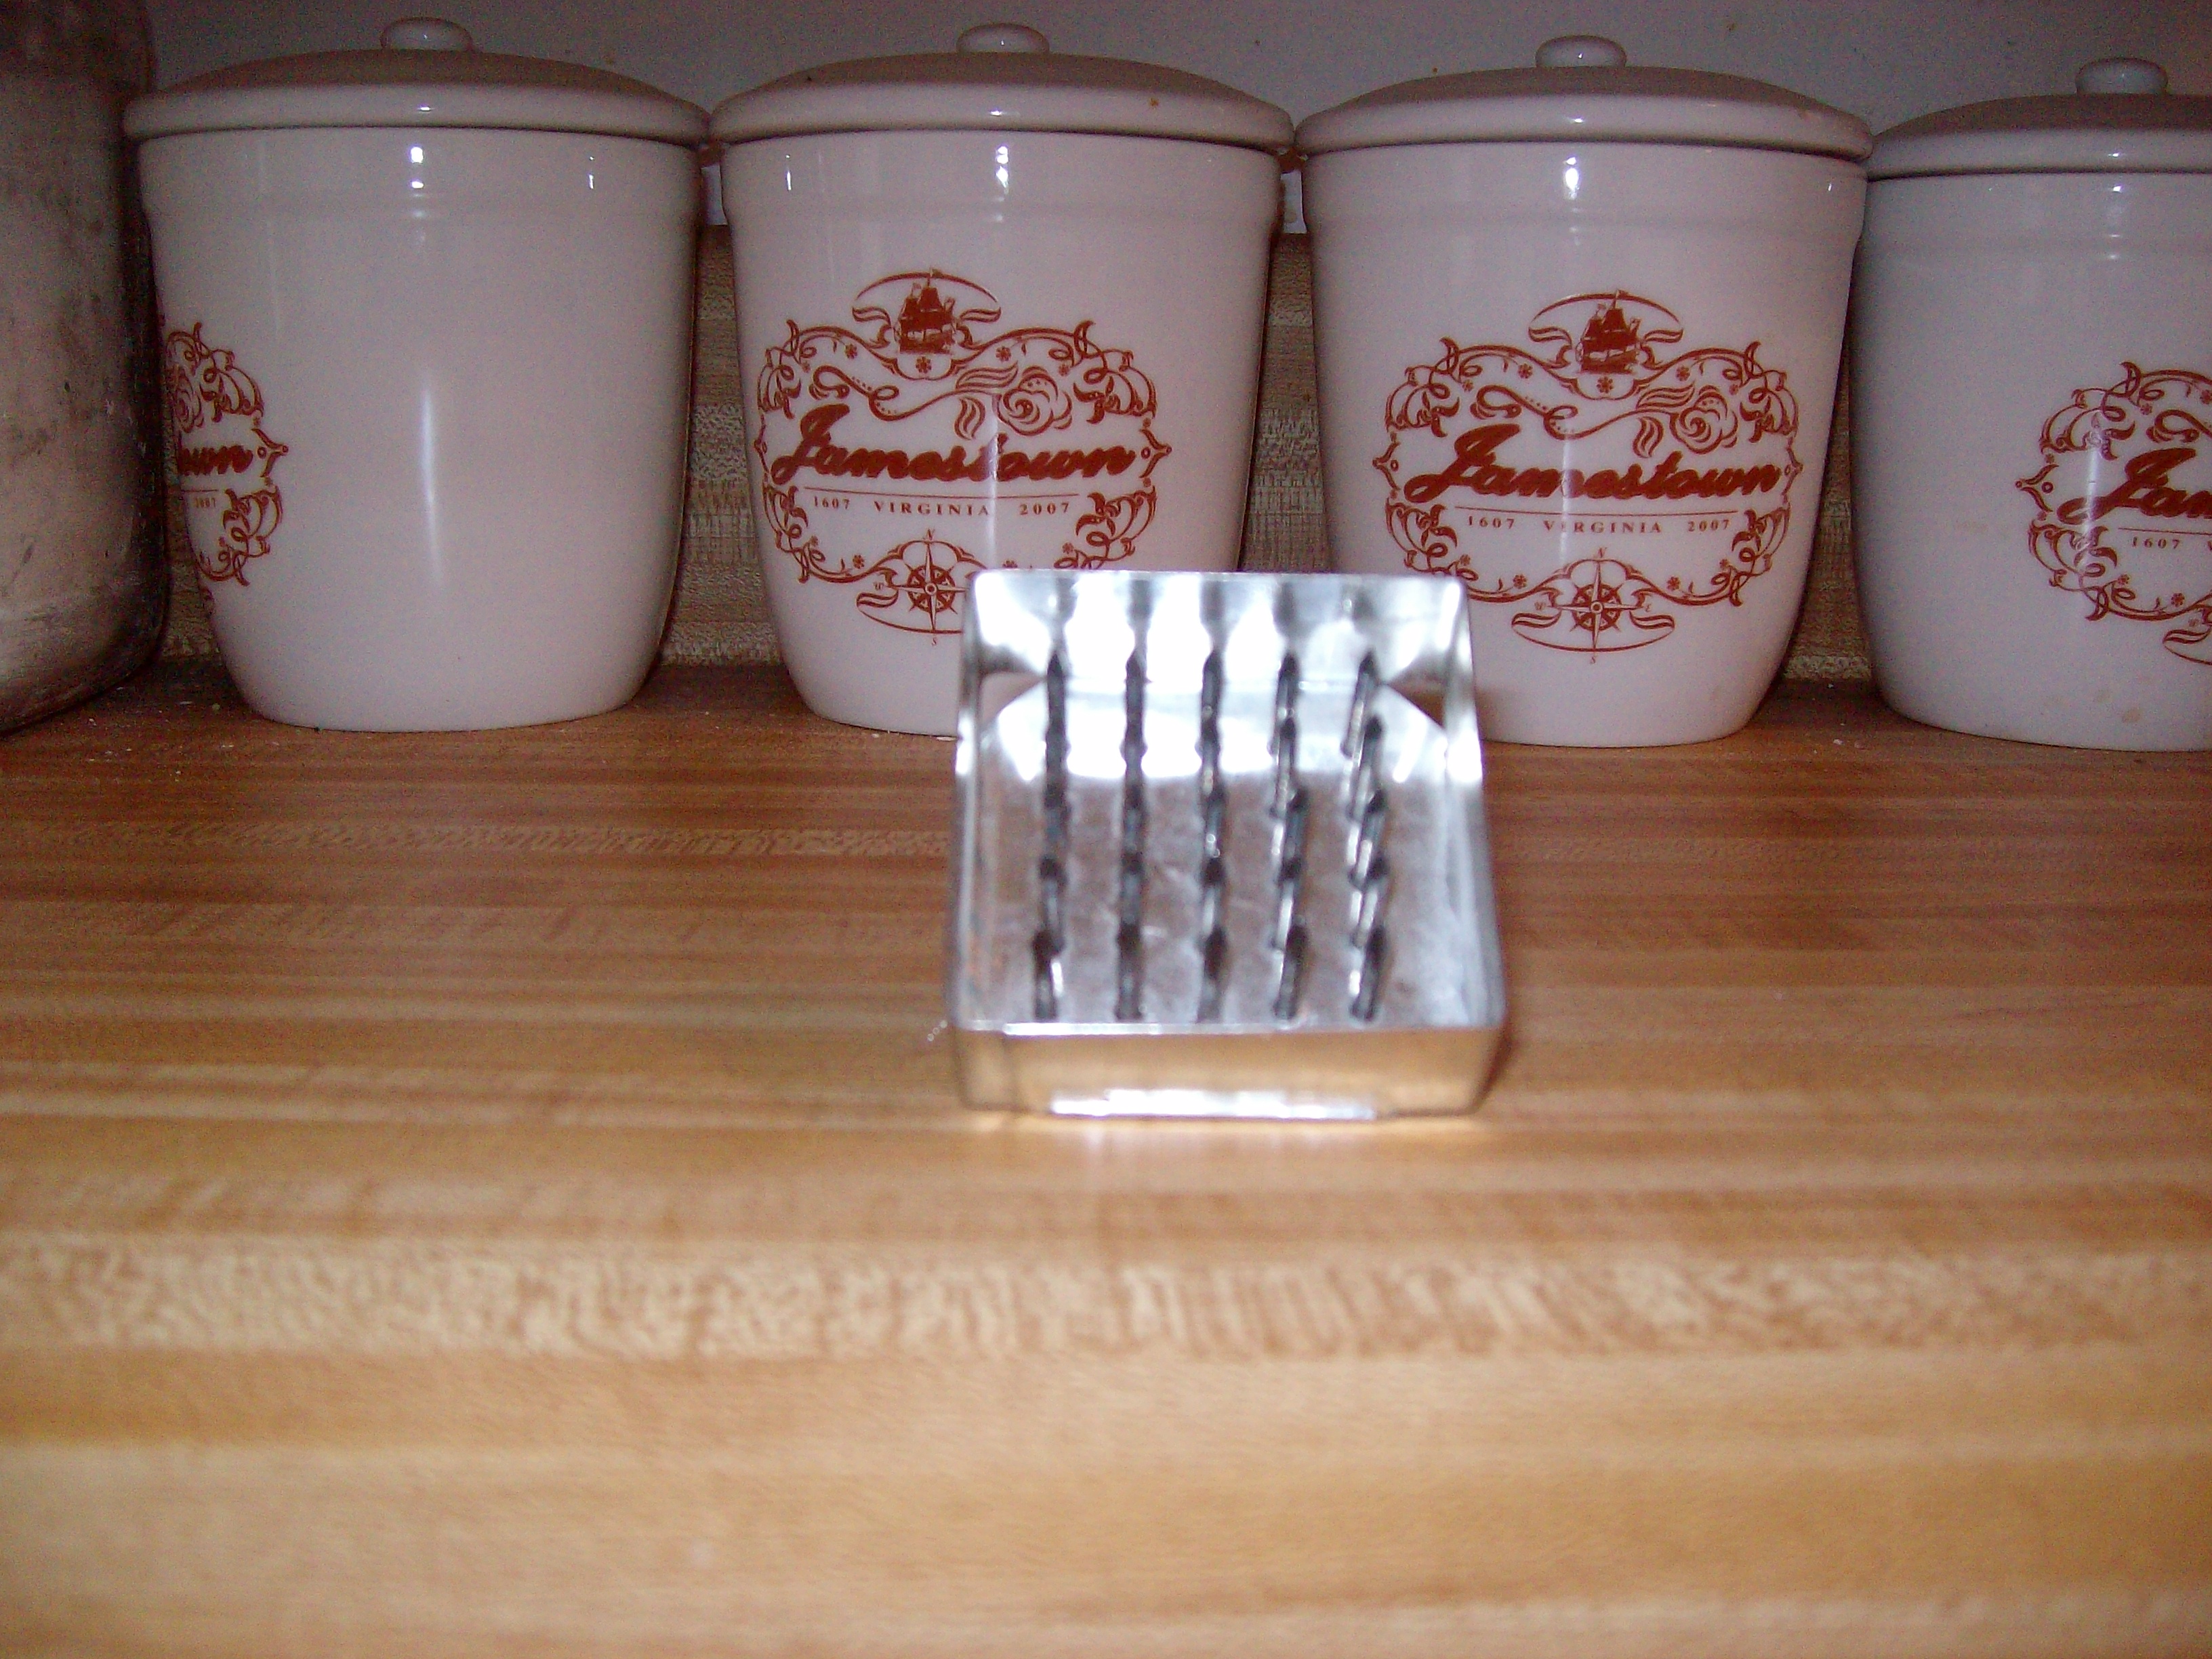
I found that the key to making the hardbread is a quality hardbread cutter. As a tool, it will ensure proper and uniform dimensions, uniform placement of the air holes and a consistent product. To be able to achieve the correct dimensions for the hardbread, I was able to have a custom made cutter manufactured by the Victor Trading Company from Victor Colorado.
The custom made cutter cost $50, plus $2 for the handle and shipping. I chose not to cheap out on the cutter as it has the greatest impact on the consistency of the size and shape of the cracker. My Victor Trading Company made cutter has worked out extremely well and had proved its worth.
The Hardbread Recipe
- 4 cups of all purpose flour
- 3/4 cup of shortening (room temperature)
- 1 teaspoon baking powder
- Pinch of salt
- 1 1/3 cup of milk
Mix the dry ingredients together. Add the shortening and work completely into the dry ingredients until the flour looks like coarse meal.
Add the milk and stir in with a fork or spatula until a ball of dough forms. Divide the dough in half and turn the first half onto the pastry board or counter (figure 3).
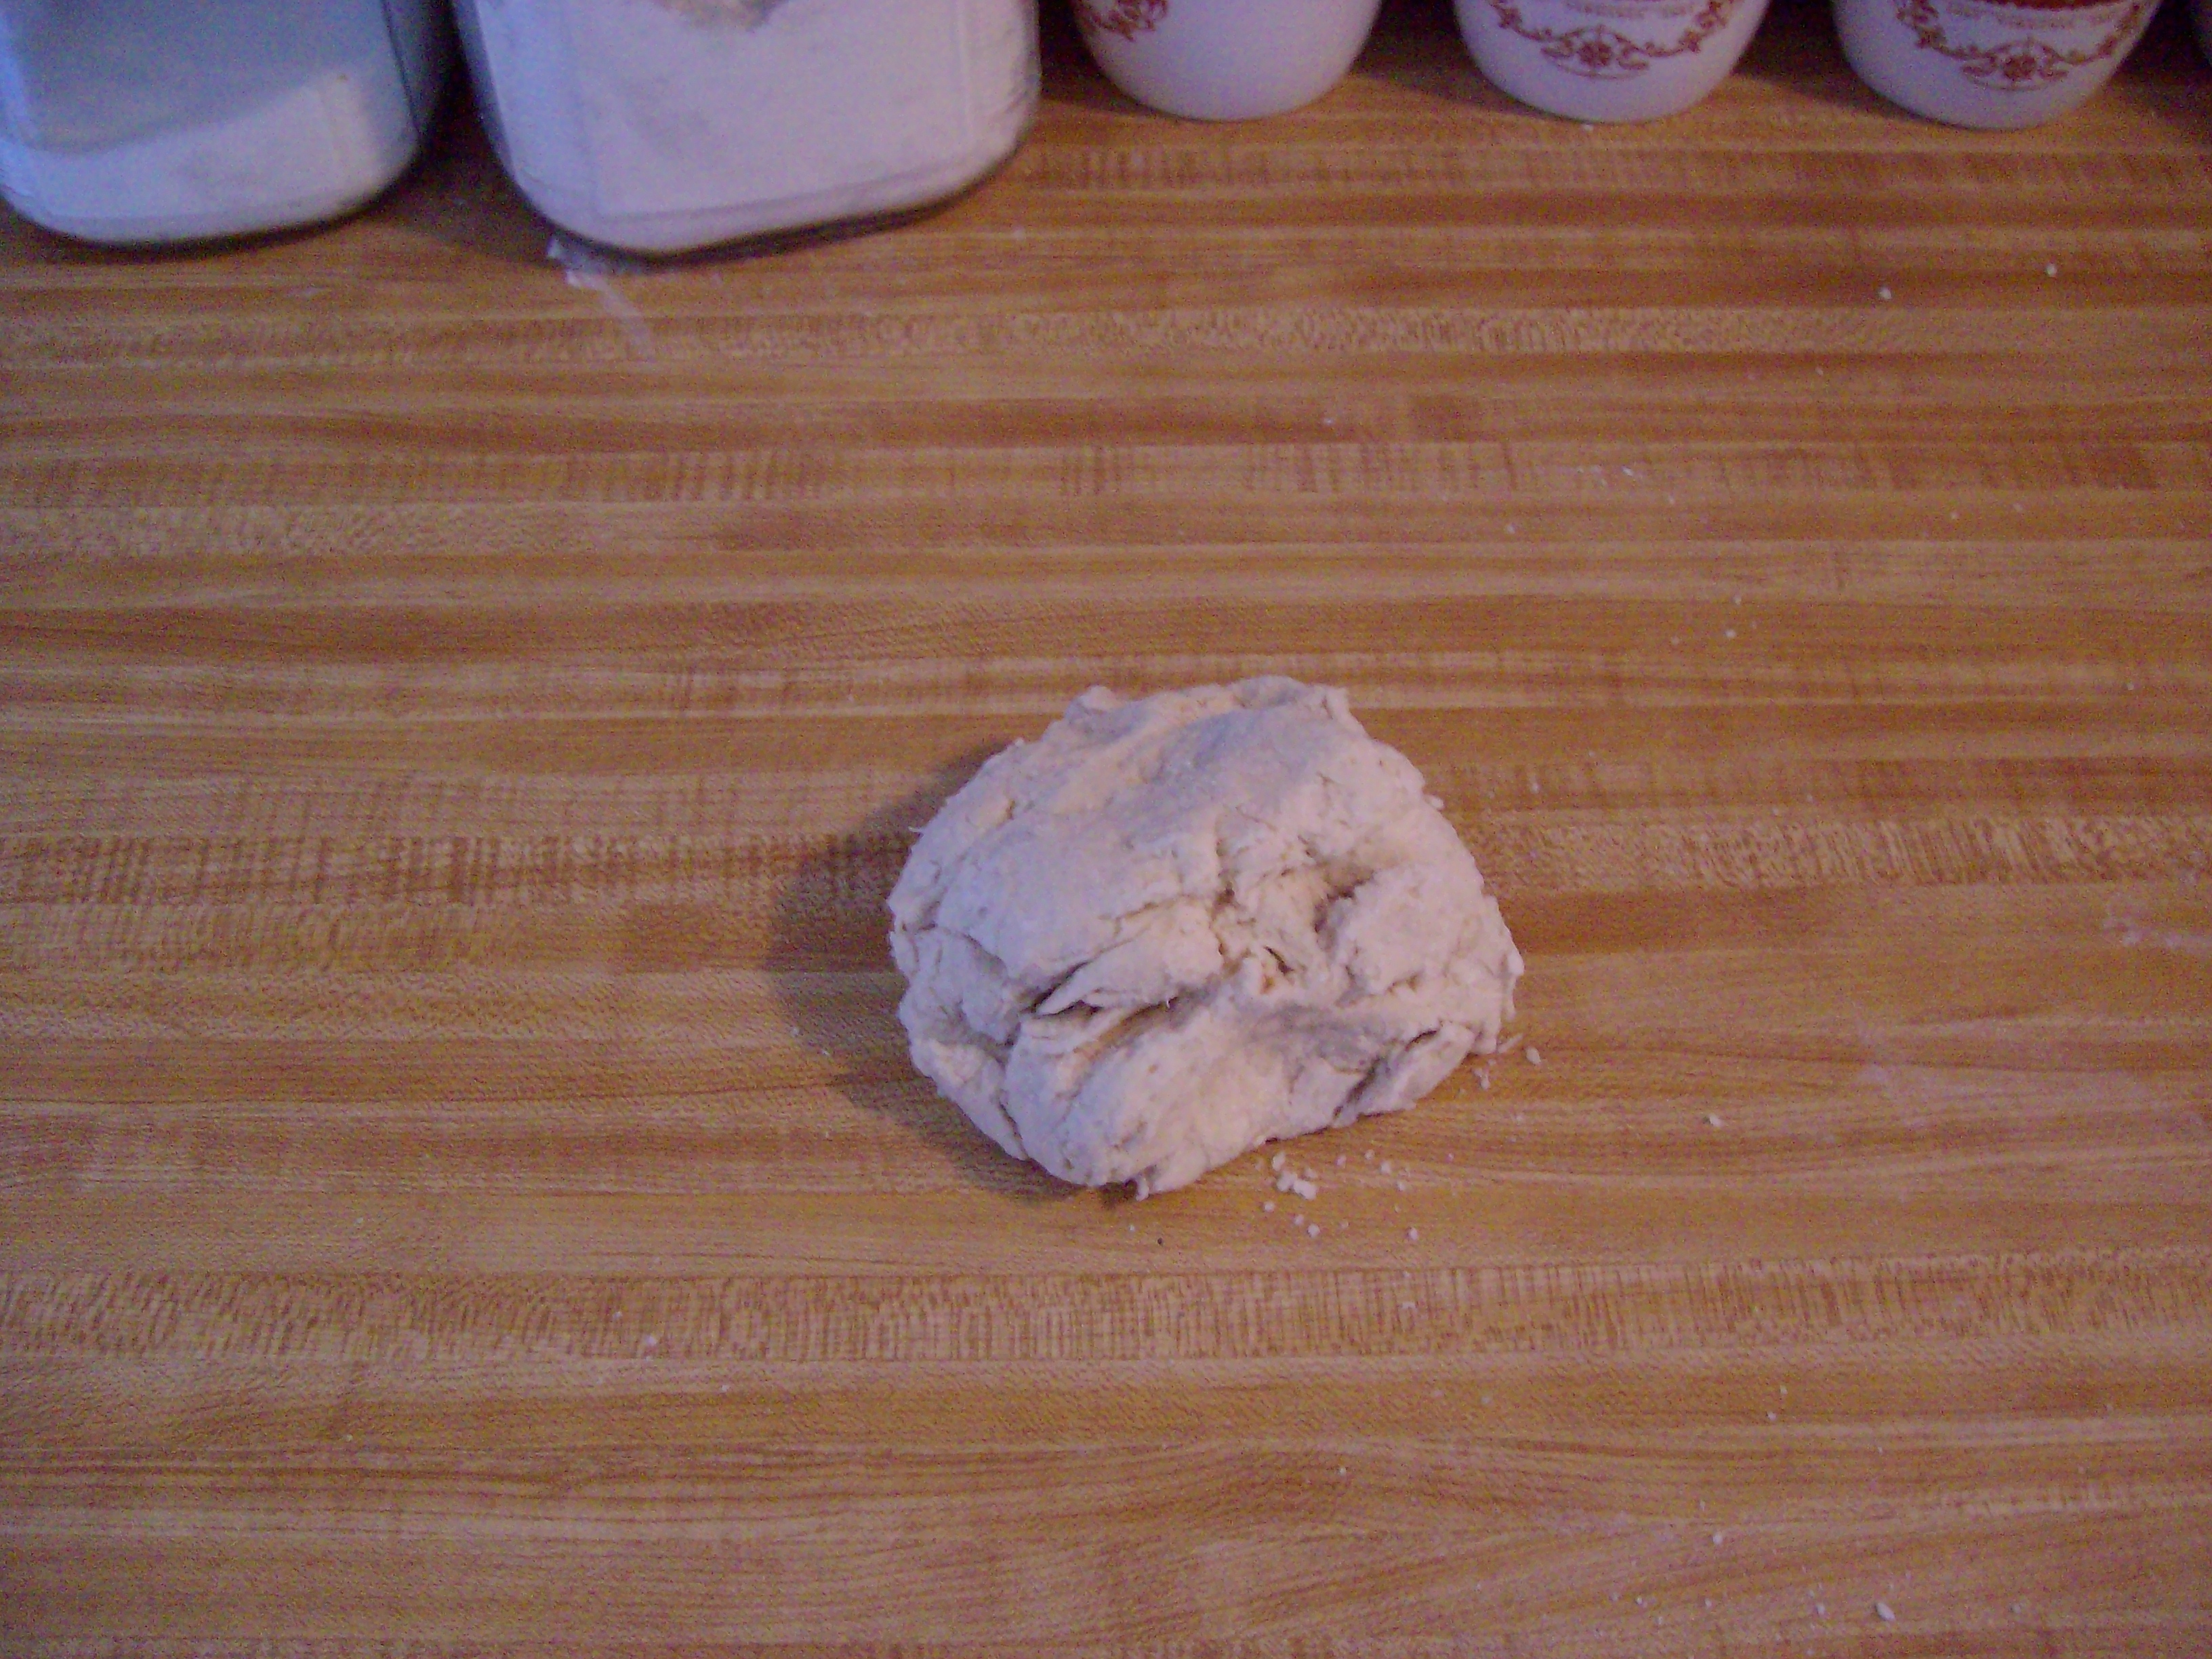
Do not flour the board just yet. The dough will not stick to the un-floured board and secondly, you do not want to work more flour into the dough once the dough has formed. Adding too much flour will encourage the creation of layers within the dough; something that you want to avoid (we’re not looking for flaky layers of pastry – its ok to overwork this dough)


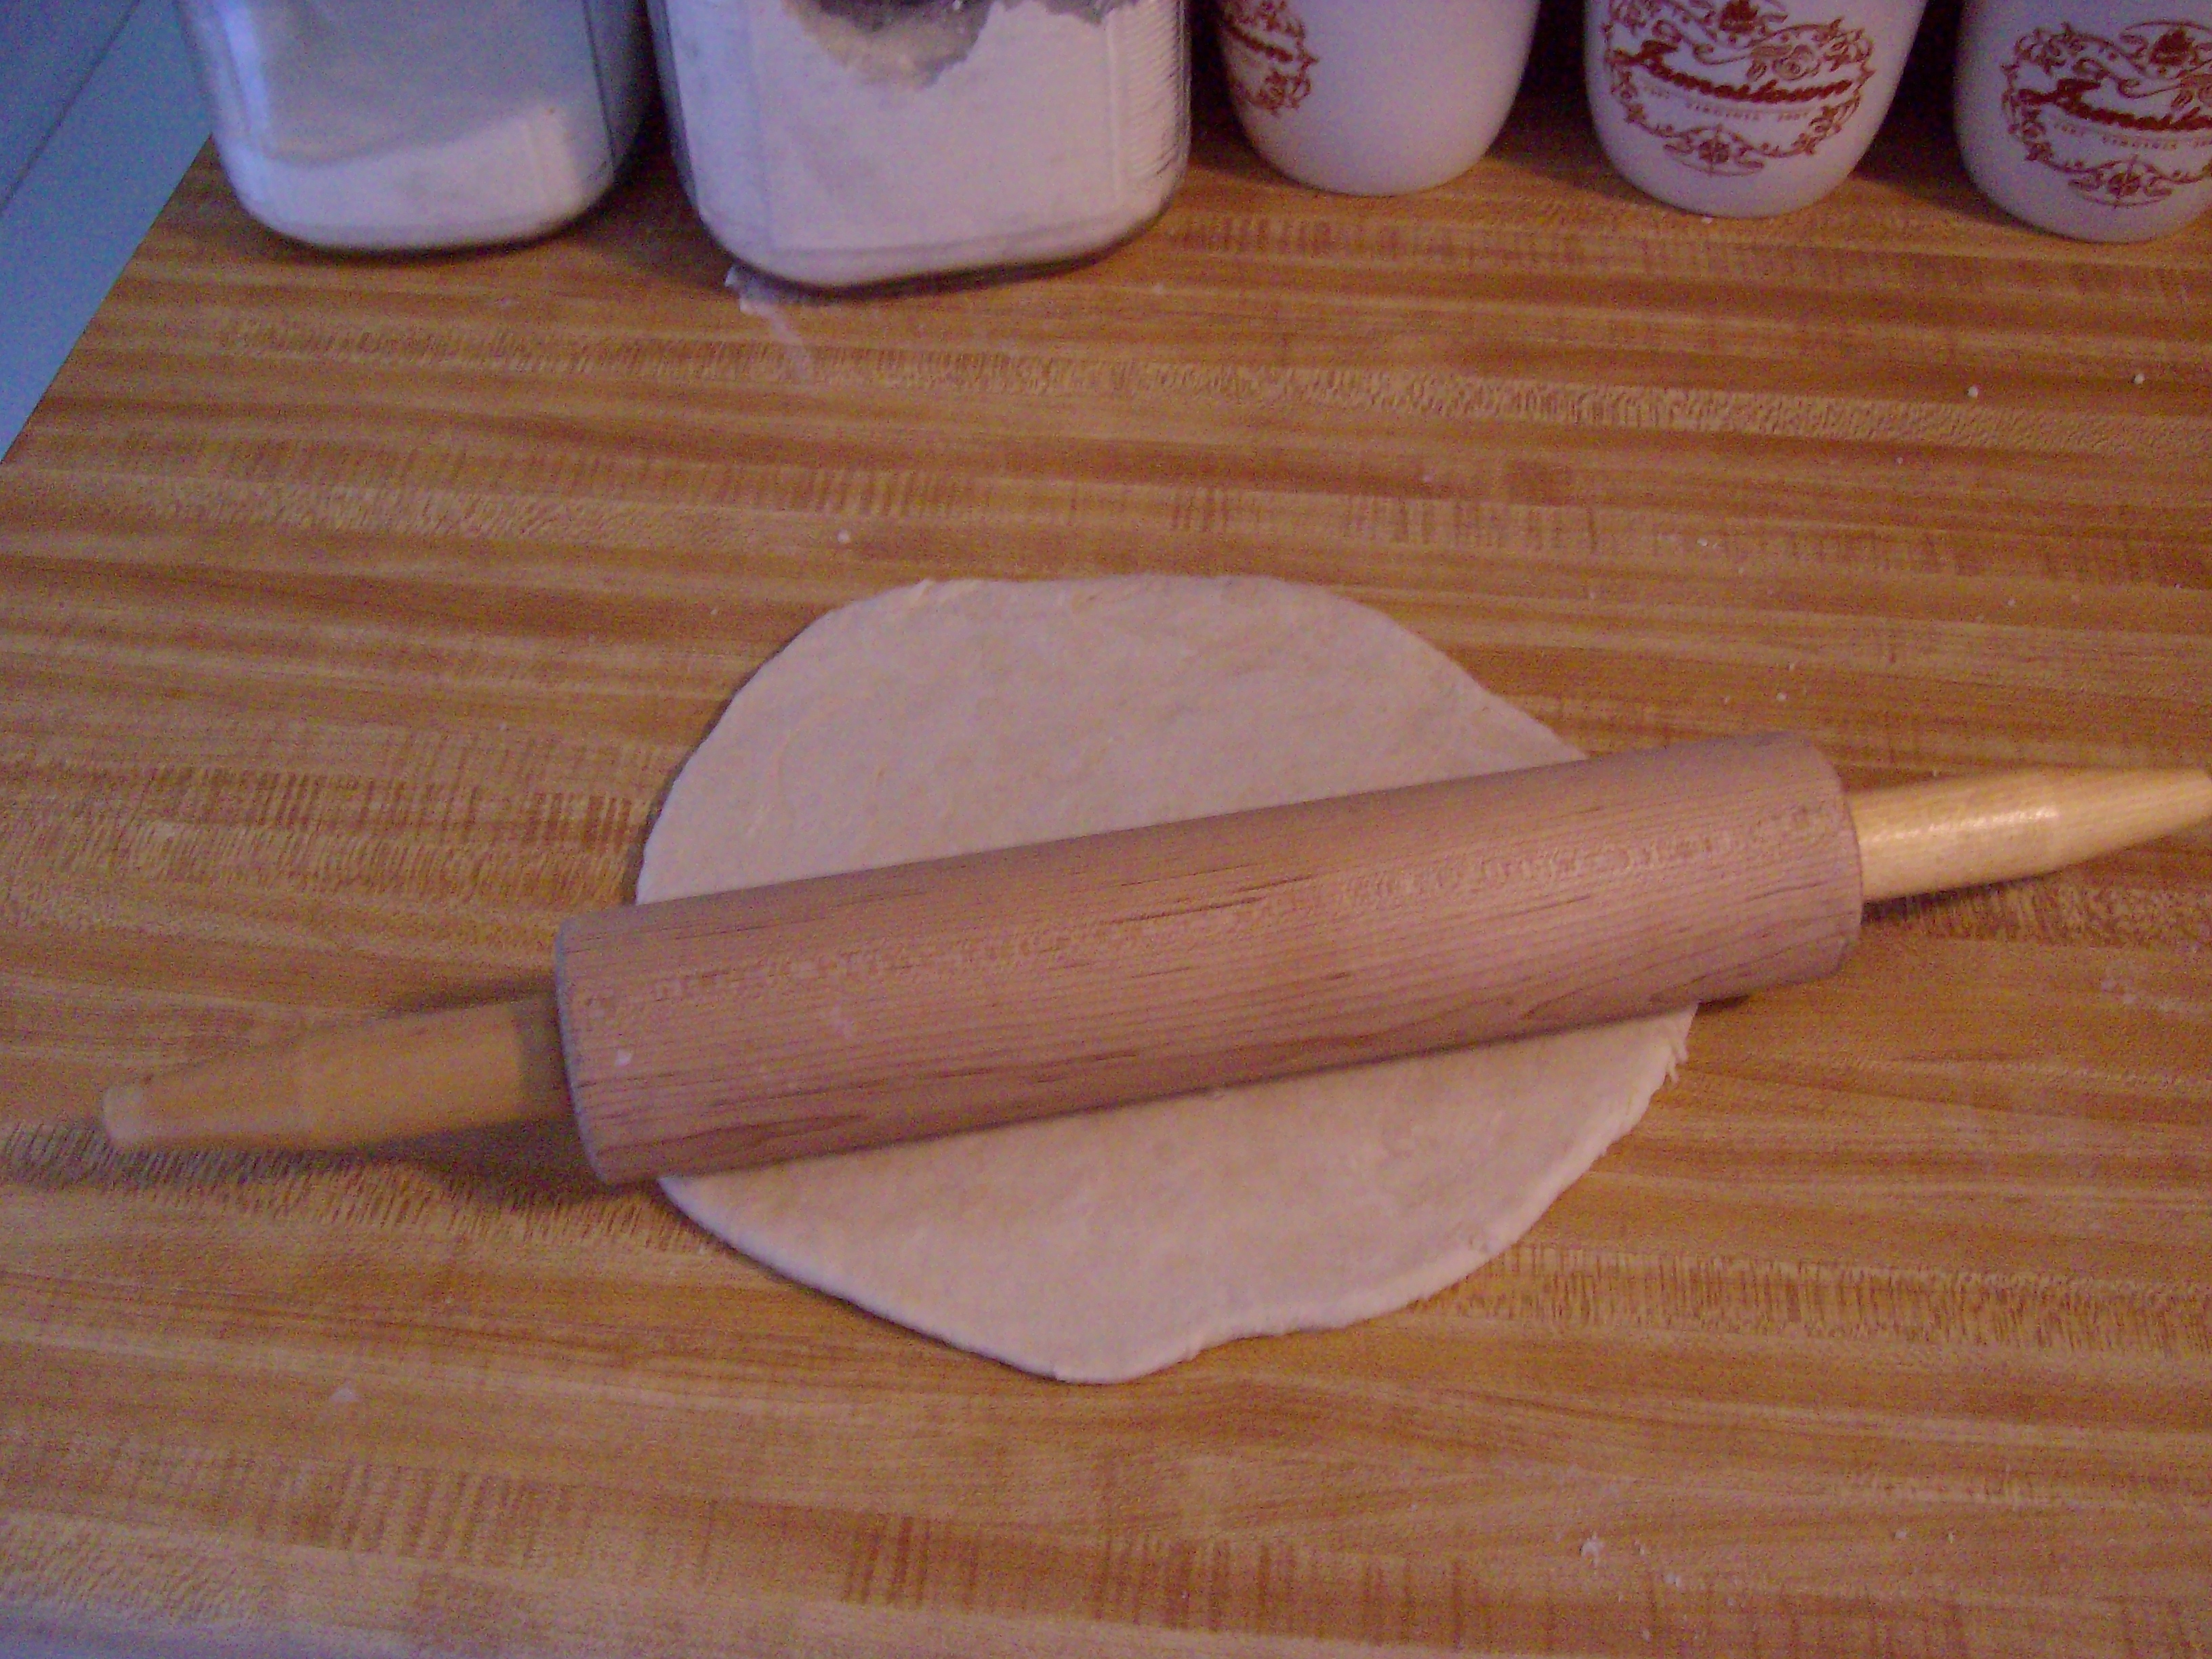
Press the dough together with your hands, fold the dough and press out again and then form into a ball. Now, lightly flour your pastry board and then roll out with a rolling pin. Firmly roll the dough to about 5/16th of an inch thickness (the hardbread will expand in cooking to about 7/16th of an inch). As the dough is rolled out you want to make sure there are no folds or seams in the dough which will lead to layers, cracking or splitting in the cooked product. Allow the dough to rest for about 5 minutes.
Dip your cutter into a little flour. Cut out the hardbread, being careful to handle the pieces as little as possible and re-flour the cutter as necessary. Handling the pieces too much will deform them. Once you have cut as many pieces as the dough will allow, pick up the trimmings from around the cut pieces and use a thin knife blade to pick up the pieces and place them on the baking sheet. As you cut out the hardbread, you may find that at times the cutter picks up the cut hardbread, with a flick of the wrist, flick the piece into your hand and place on the baking sheet – don’t try to peel the piece out of the cutter.
Turn the second half of the dough onto the board and fold in the trimmings from the first half of the dough. Roll out and cut out the hardbread just as with the first half the dough. Any trimmings left can be formed into a ball, rolled out and cut again.
Bake the hardbread in an oven pre-heated to 375 degrees for about 20 minutes. Bake the hardbread to just before it turns a golden brown. Remove the hardbread from the oven and allow it to cool for a couple of hours.
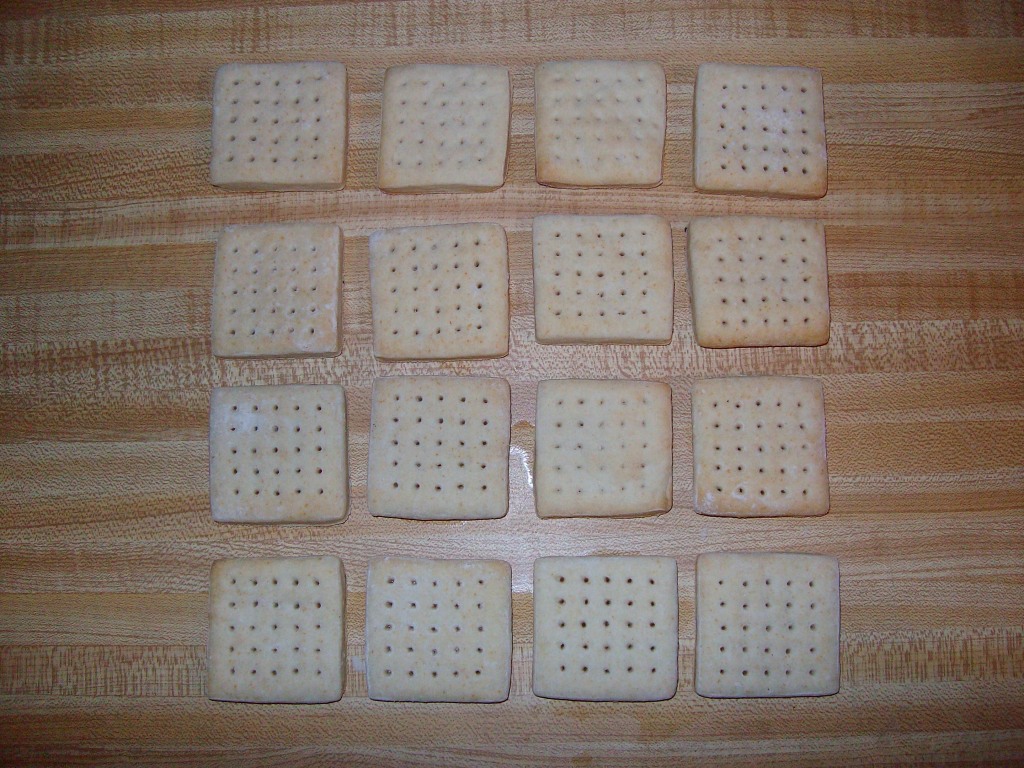
Once the hardbread pieces have cooled you will notice they are a little soft. Turn the oven down to 150 degrees and place the hardbread into the oven again, this time to dry. Dry the hardbread for 3 hours or until it has become firm. Drying to 3 hours removes enough moisture to firm up the hardbread and give it a bit of a shelf life. Do not dry the bread for more than 3 hours – too much moisture is removed and the hardbread cracks. Through this process, the hardbread will have the right density, hardness, and texture.
This recipe will produce enough hardbread to fill two hardbread tins or about 1 pound.
Packaging The Hardbread

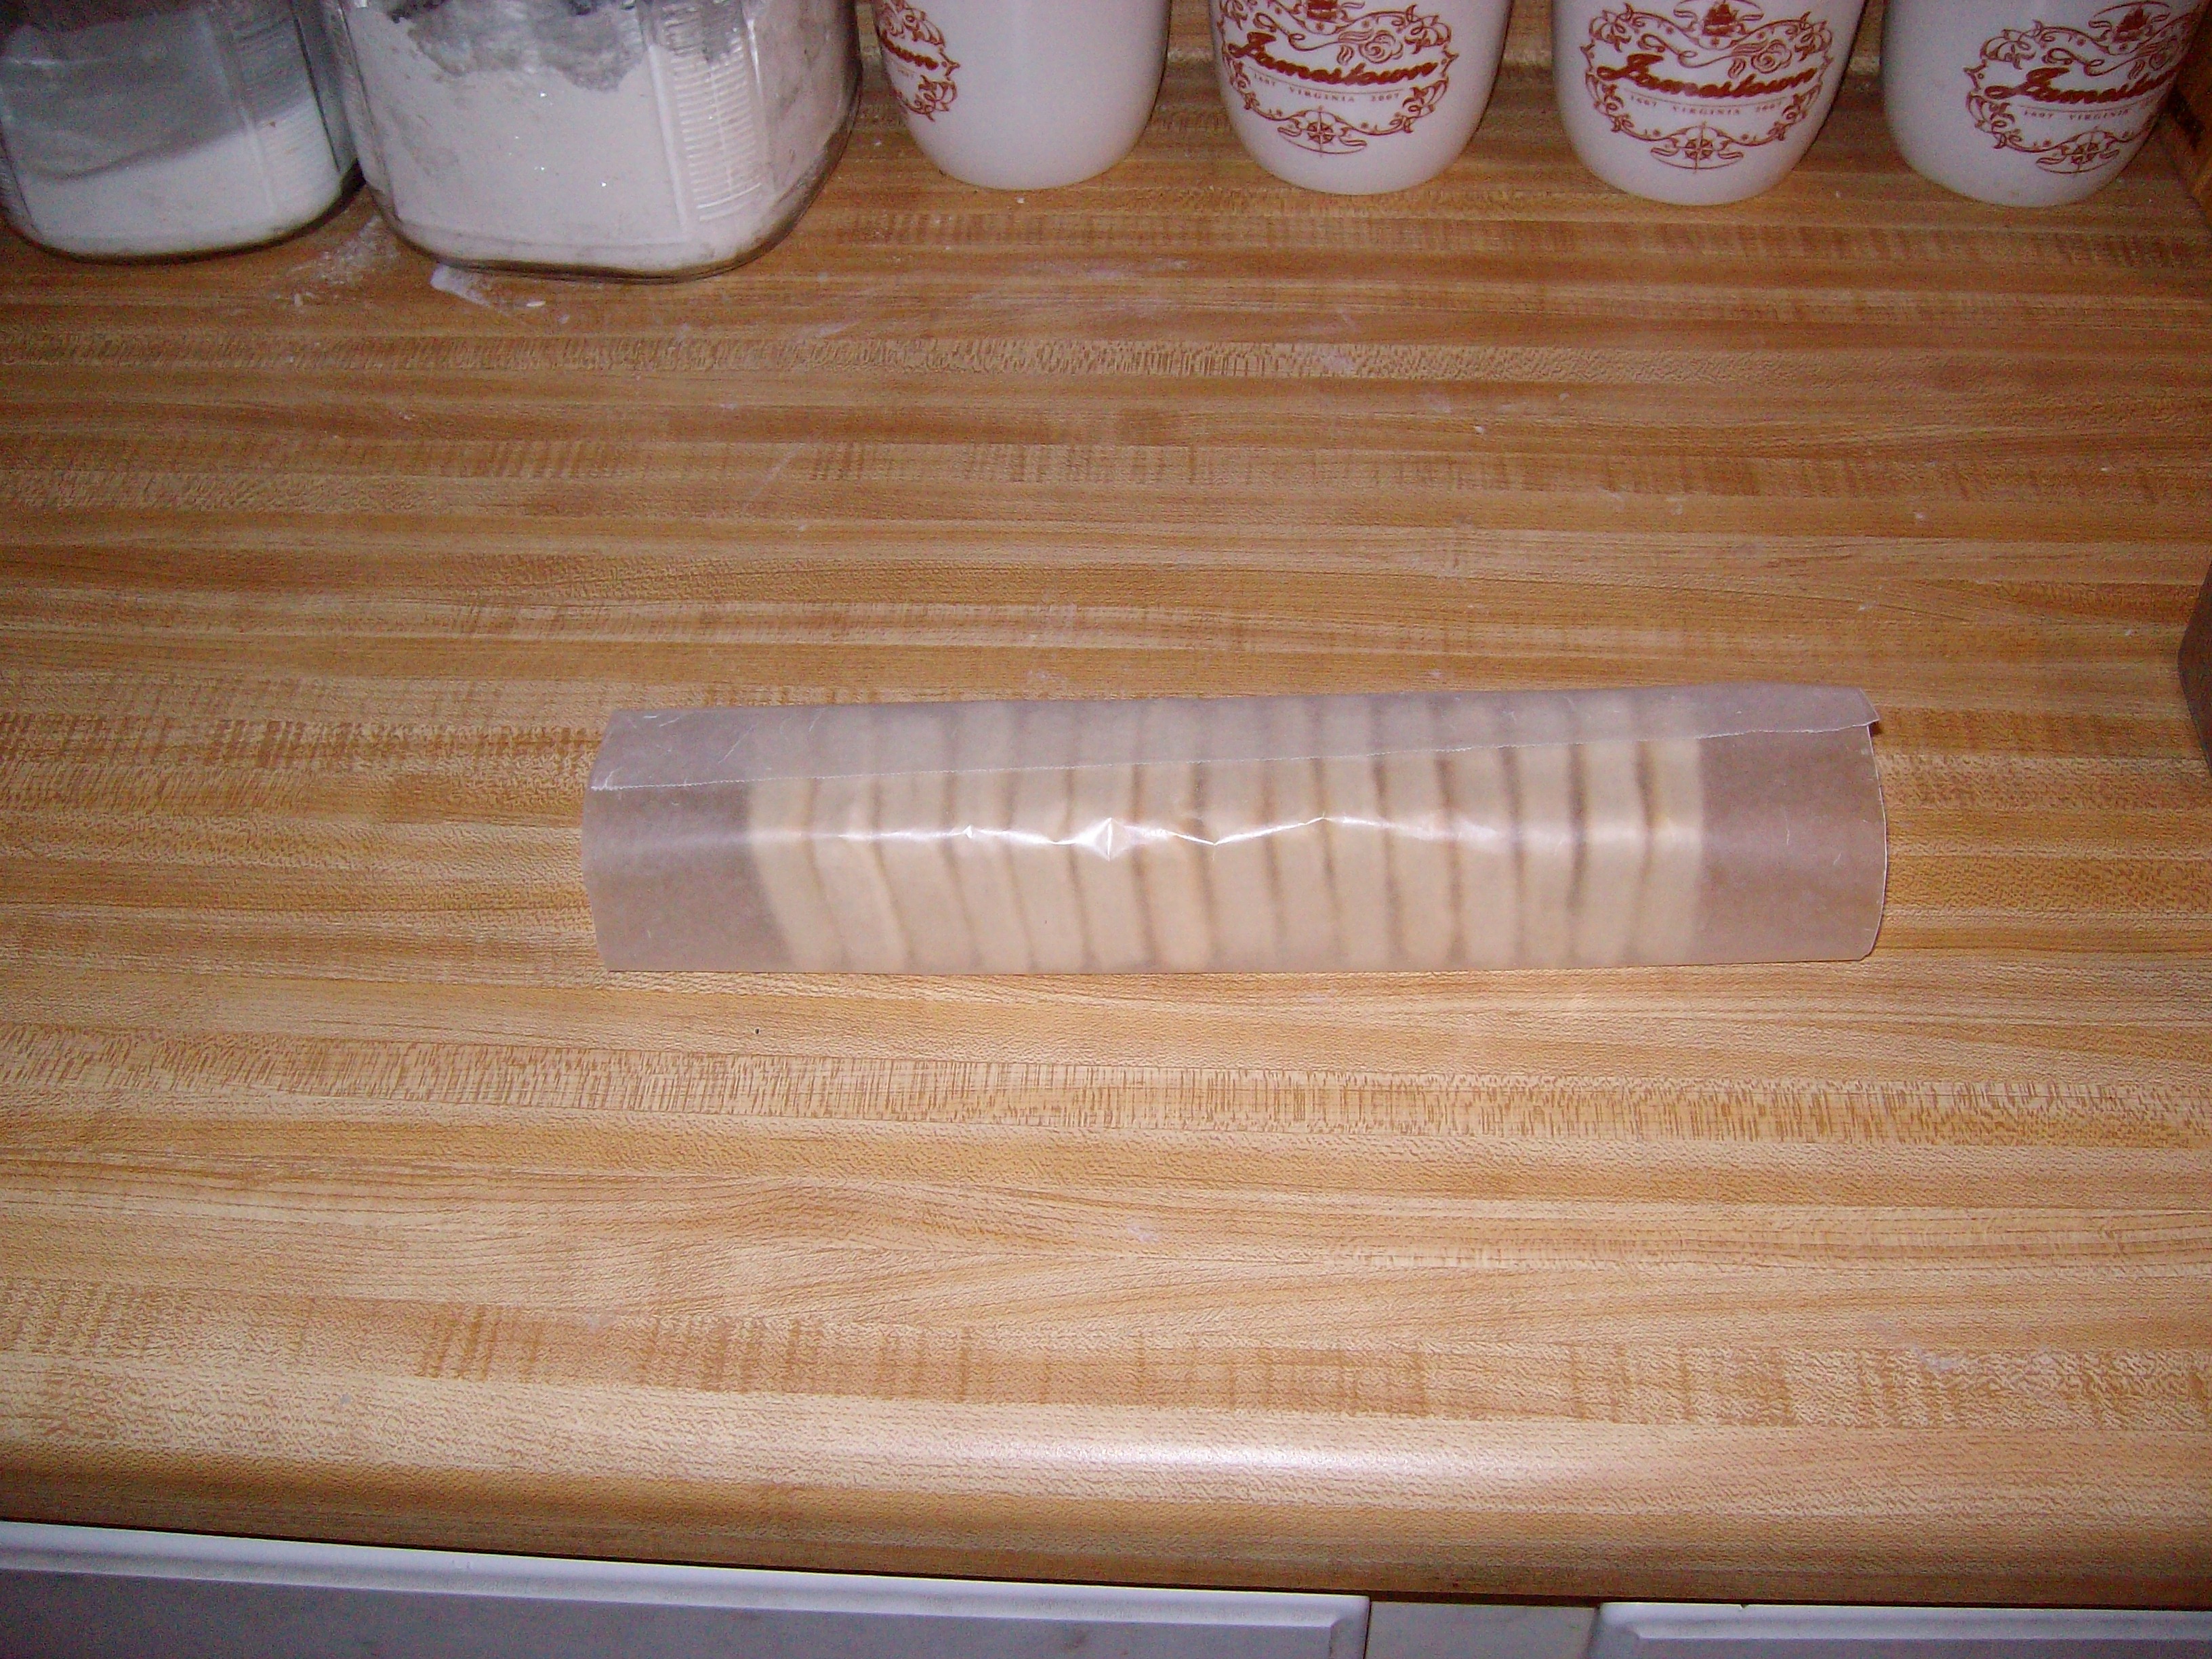
Once the hardbread is baked and dried, it is ready for packaging. Carefully wrap the hardbread in wax paper – about 14-16 pieces.
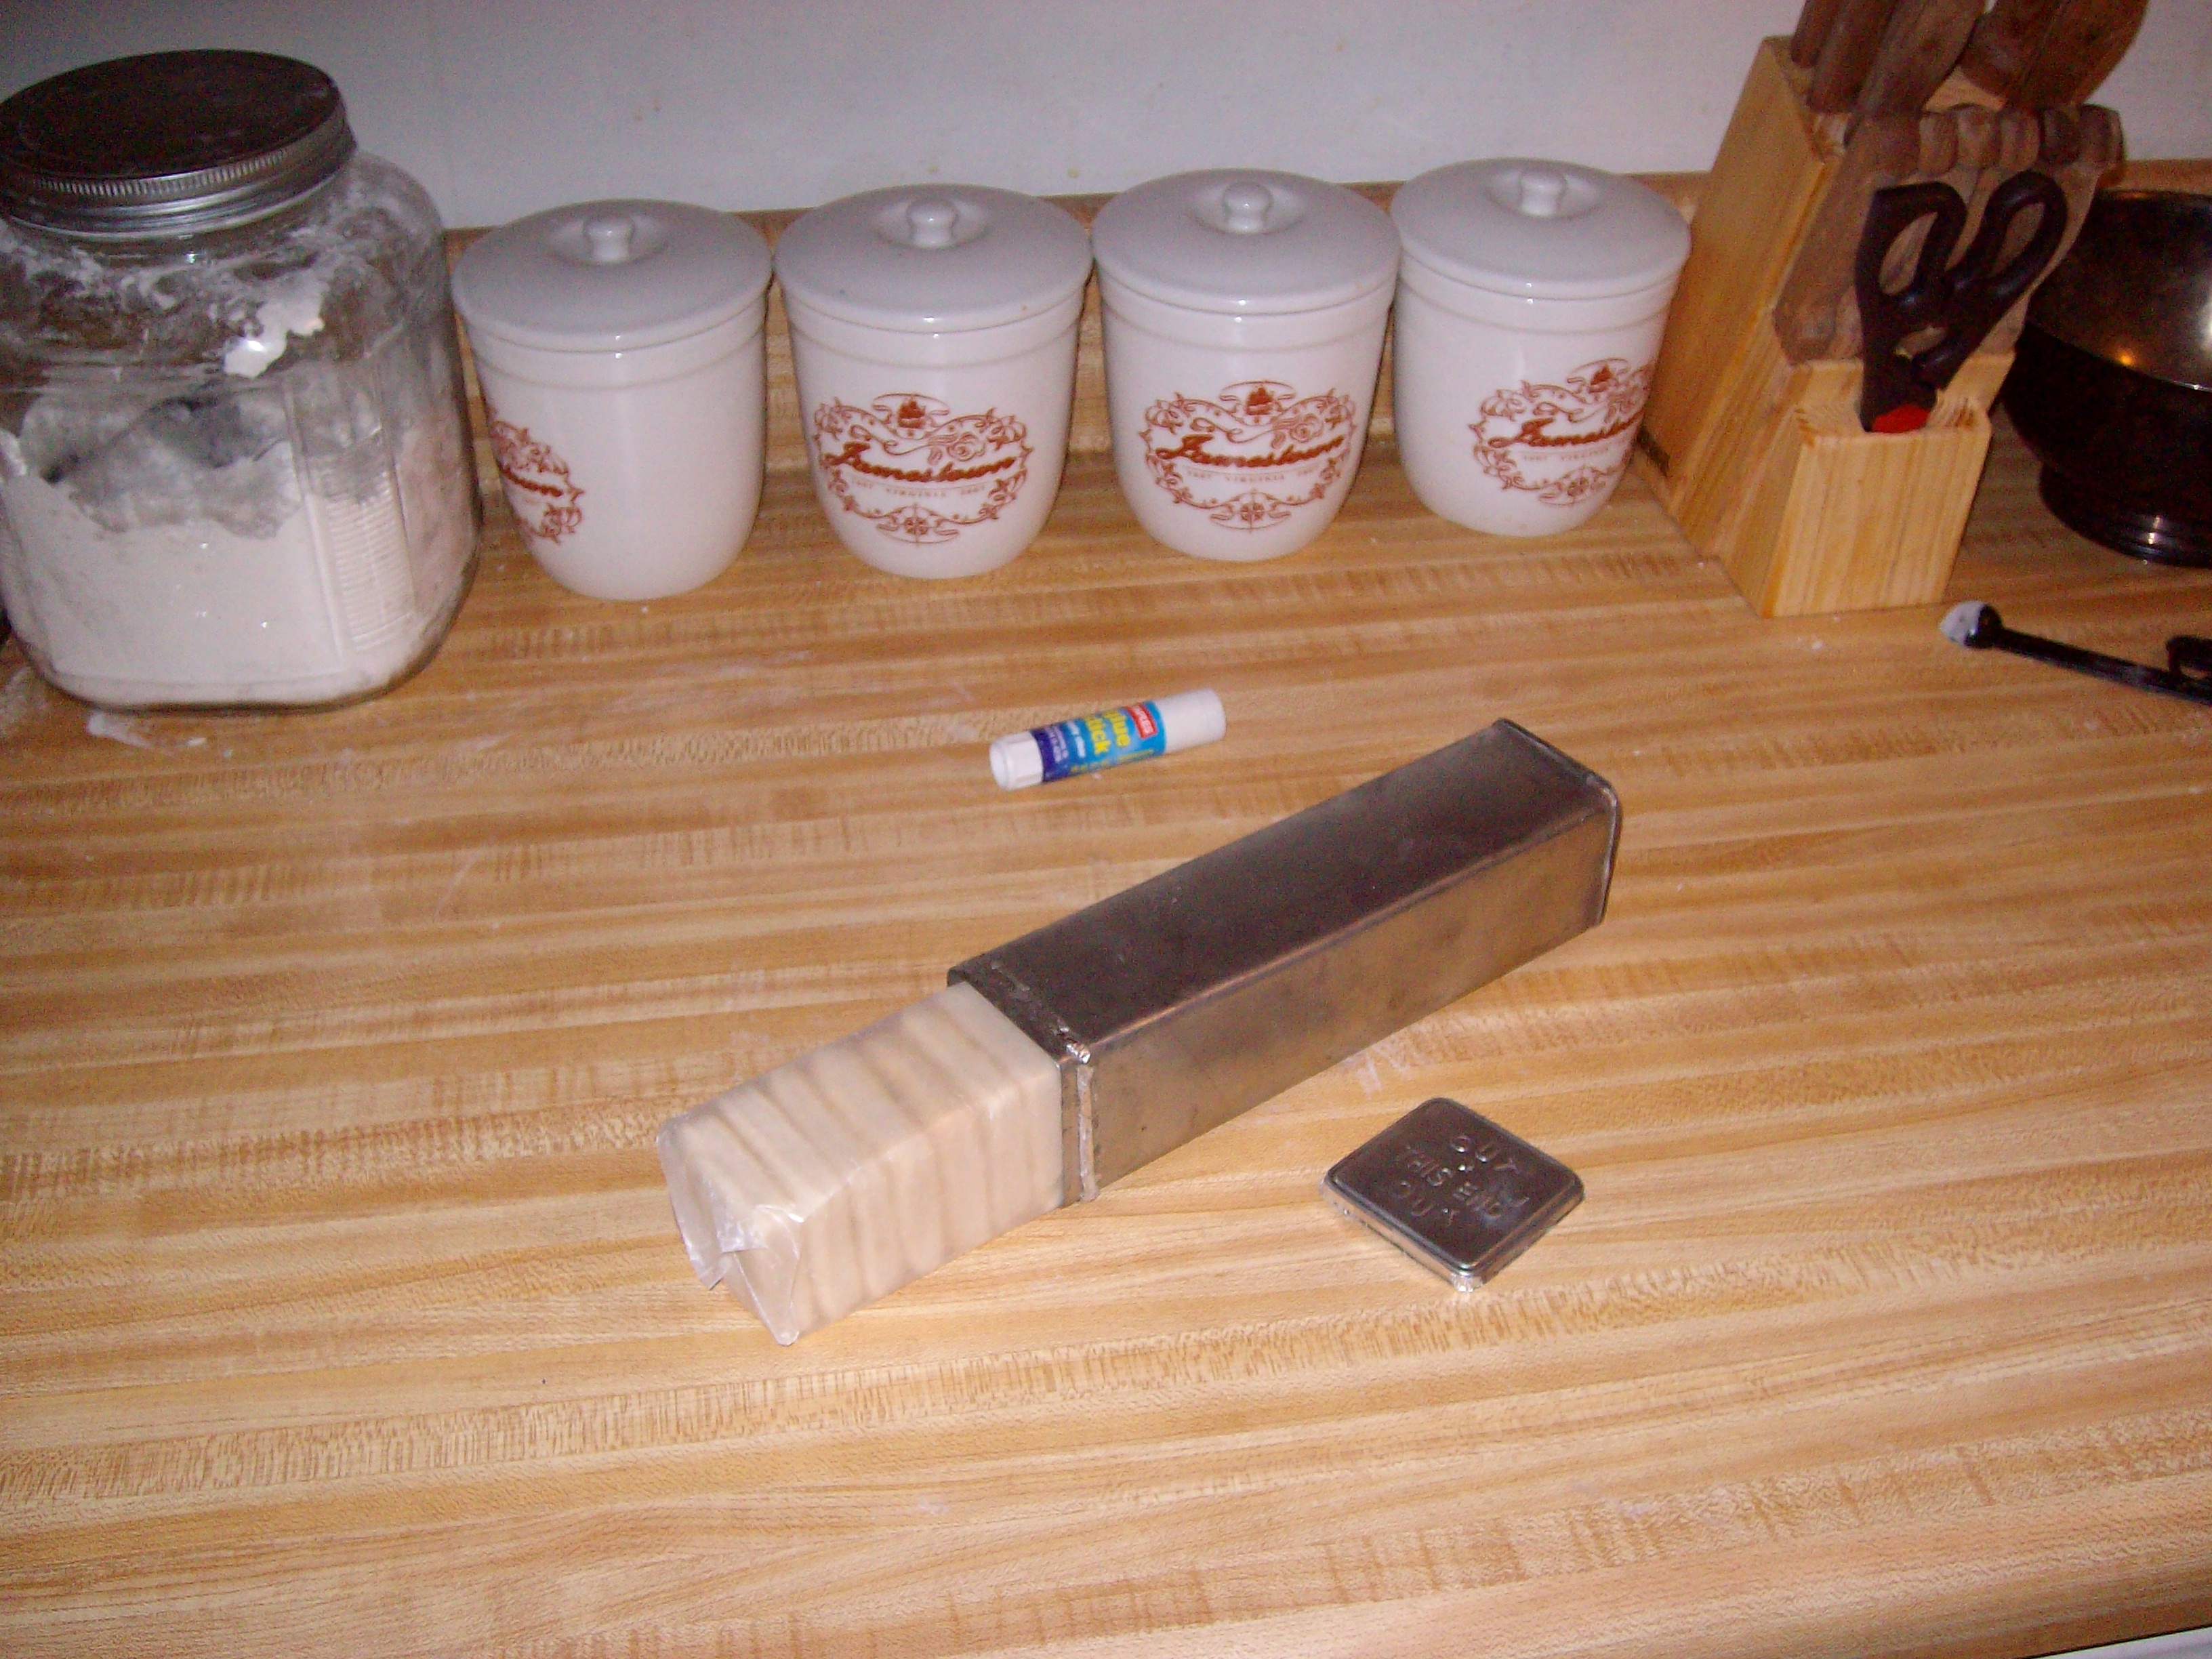
Once wrapped, insert the packaged hardbread into the reproduction hardbread tin and seal the tin as suggested in Tom Clegg’s article “Increasing the Authenticity and Function of Reproduction Hardbread Tins”
And that’s all there is to it. Hopefully, those that try this recipe out will find it to be rather easy and that it produces a satisfactory hardbread.
